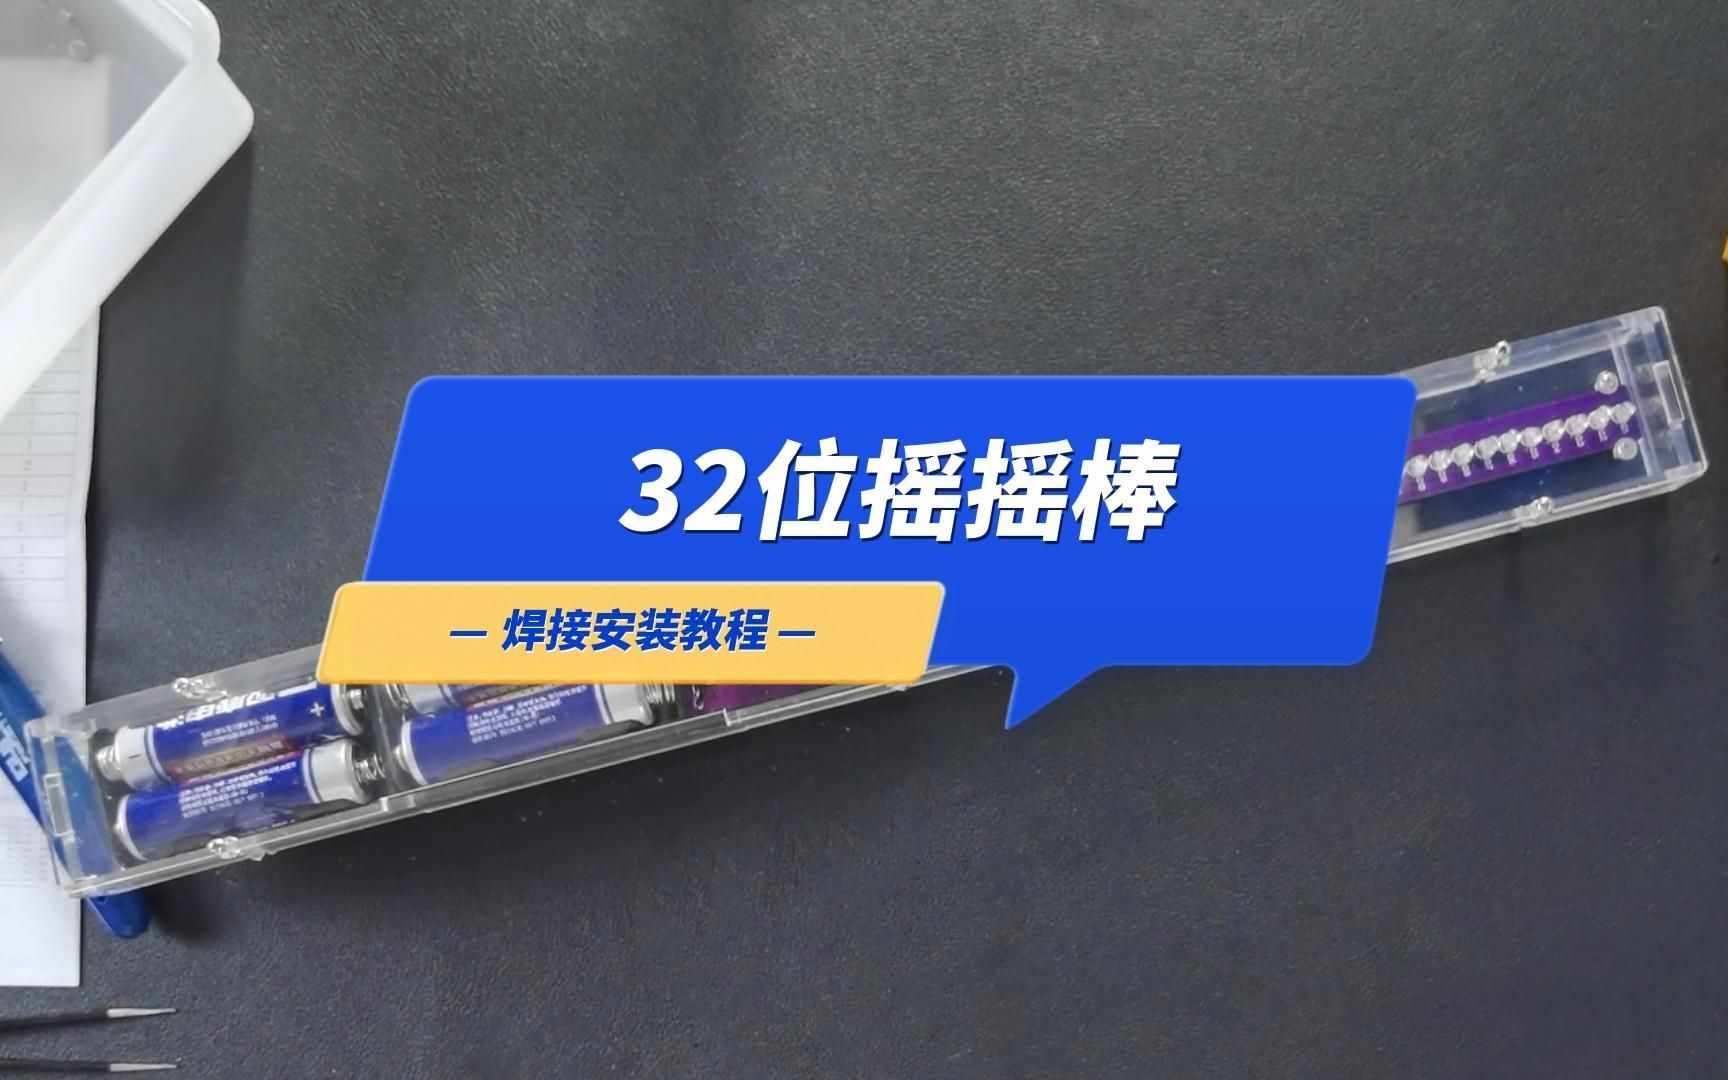
HU-007 摇摇棒制作套件 Shake stick making kit
☞关注公众号再阅读!☜
☞防止下次再迷路!!☜
1.产品焊接组装成果展示图
Product welding assembly results


2.元件清单
Component list

3.元件分布图
Component distribution diagram

4.电路原理图
Schematic

5.焊接方法
Welding method

6.电路板焊接步骤细节
PCB Welding procedure details
1.焊接振动开关(金色引脚对应丝印标识),如下图所示。
Welding vibration switch (golden pin corresponds to silk screen logo), as shown in the figure below.


2.焊接20P-IC座(IC座的U形缺口与丝印图案对应),如下图所示。
Solder the 20P-IC holder (the U-shaped notch of the IC holder corresponds to the silk screen pattern), as shown in the figure below.

3.焊接LED(引脚:长+短-,与丝印标识对应),如下图所示。
Solder LED (pin: long + short -, corresponding to the silk screen logo), as shown in the figure below.


4.焊接4pin排针、圆柱晶振和拨动开关,如下图所示。
Weld 4pin pin header, cylindrical crystal oscillator and toggle switch, as shown in the figure below.
图片模块


5.将按键引脚向下按平,剪短引脚后焊接,如下图所示。
Press down the key pin flat, shorten the pin and solder, as shown below.


6.将单片机引脚稍向内弯曲后,U形缺口对应标识位置安装。
After bending the MCU pins slightly inward, the U-shaped notch is installed corresponding to the marked position.


7.根据丝印标识焊接电池盒引线(红+黑-),用双面胶固定后将电池对应极性装入。
Weld the battery box lead (red + black -) according to the silk screen logo, fix it with double-sided tape and insert the battery with the corresponding polarity.


7.外壳安装说明
Shell installation instructions
1.首先安装底面、侧面亚克力外壳,用螺丝螺母固定,如下图所示。
First install the bottom and side acrylic shells and fix them with screws and nuts, as shown in the figure below.


2.将电路板按键、开关对应开孔位置放入,如下图所示。
Put the corresponding holes on the circuit board buttons and switches, as shown in the figure below.

3.用垫片螺丝固定摇摇棒顶端,如下图所示。
Fix the top of the rocker with spacer screws, as shown in the figure below.


4.安装另一侧面外壳,用螺丝螺母固定,如下图所示。
Install the other side shell and fix it with screws and nuts, as shown in the figure below.

5.最后安装顶面外壳(注意对应下载接口放置),如下图所示。
Finally, install the top shell (note that the corresponding download interface is placed), as shown below.


到此安装完毕。
This is the end of the installation.
8.上位机改字操作说明
Operating instructions of upper computer
1.上位机改字需要连接串口模块,接线示意图如下;
The host computer needs to be connected to the serial port module to change the character.

2.将摇摇棒向右倾倒放置,然后连接电脑串口,此时有部分LED亮起,改字过程中不能移动(触发振动开关),若不小心晃动请拔插USB接口重新上电即可。Tilt the rocker to the right and connect it to the serial port of the computer. At this time, some LEDs are on and cannot be moved during the change of word (trigger the vibration switch). If you accidentally shake, please plug in the USB interface and power on again.

3.打开上位机改字软件,可绘制或导入图片生成字幕;
Open the host computer to change the word software, you can draw or import pictures to generate subtitles;

4.进入“【选项】→【设置】”,进行参数调整设置。
Enter "[选项(options)]→[设置(settings)]" to adjust and set parameters.

进入【串口设置】选择CH340下载器连接的串口(可在电脑【计算机管理】→【设备管理器】→【端口COM和LPT】中查看对应串口号),如下图所示。
Enter [串口设置Serial Port Settings] to select the serial port connected to the CH340 downloader (you can check the corresponding serial port number in the computer [计算机管理Computer Management] → [设备管理器Device Manager] → [端口Port COM and LPT]), as shown in the figure below.


5.选择/绘制好所需字幕后,点击【发送】键发送数据即可。
如果发送失败,确认电脑有安装CH340驱动后,请拔插下载器接口重新上电即可;如果还是发送失败,请检查CH340下载器与摇摇棒改字接口是否连接正确。
After selecting/drawing the desired subtitles, click the [Send] button to send the data.
If the sending fails, after confirming that the computer has the CH340 driver installed, please unplug the downloader interface and power on again; if the sending fails, please check whether the CH340 downloader and the shake stick change interface are connected correctly.


结束
The End
☞关注下次寻找不迷路☜
☞更多内容关注公众号☜


