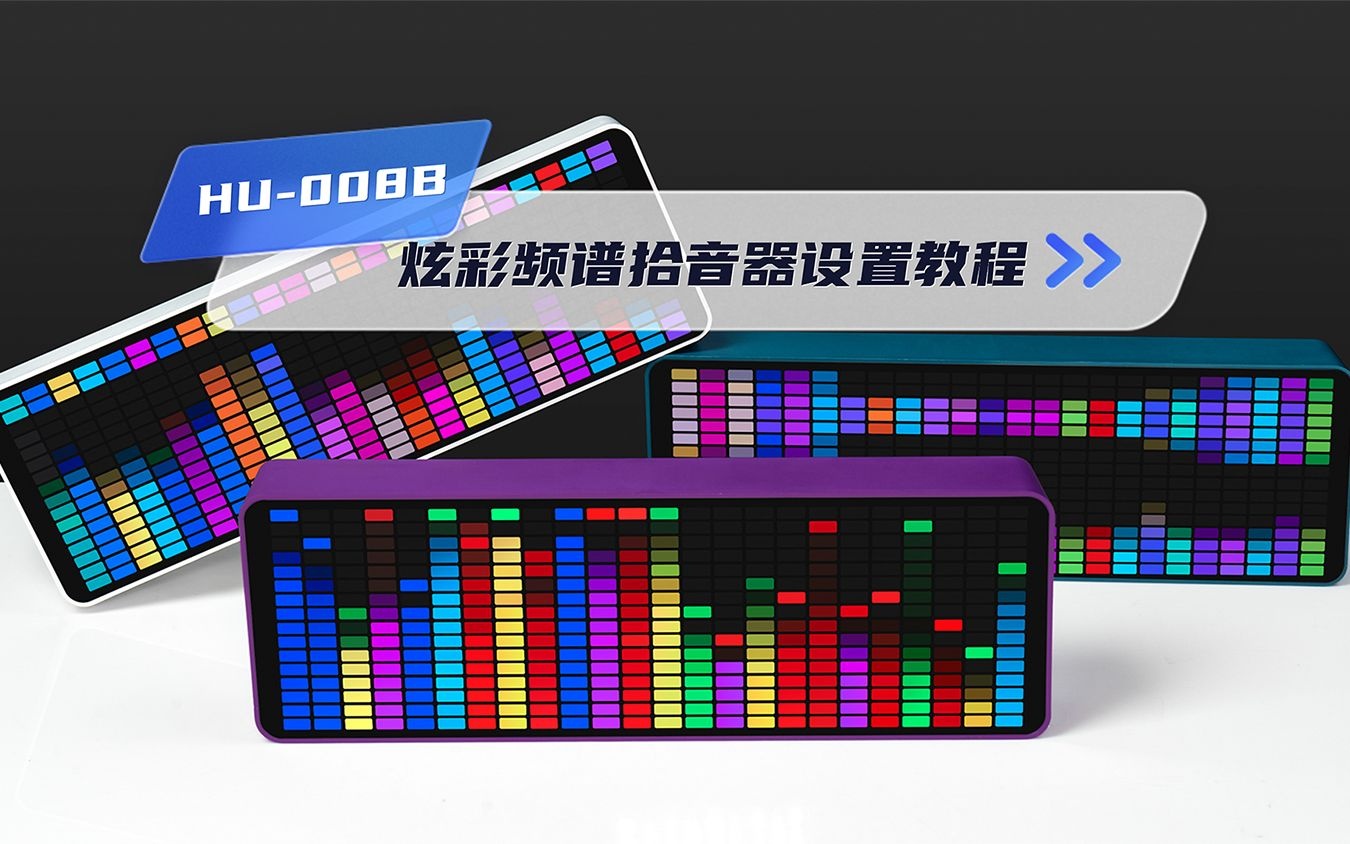
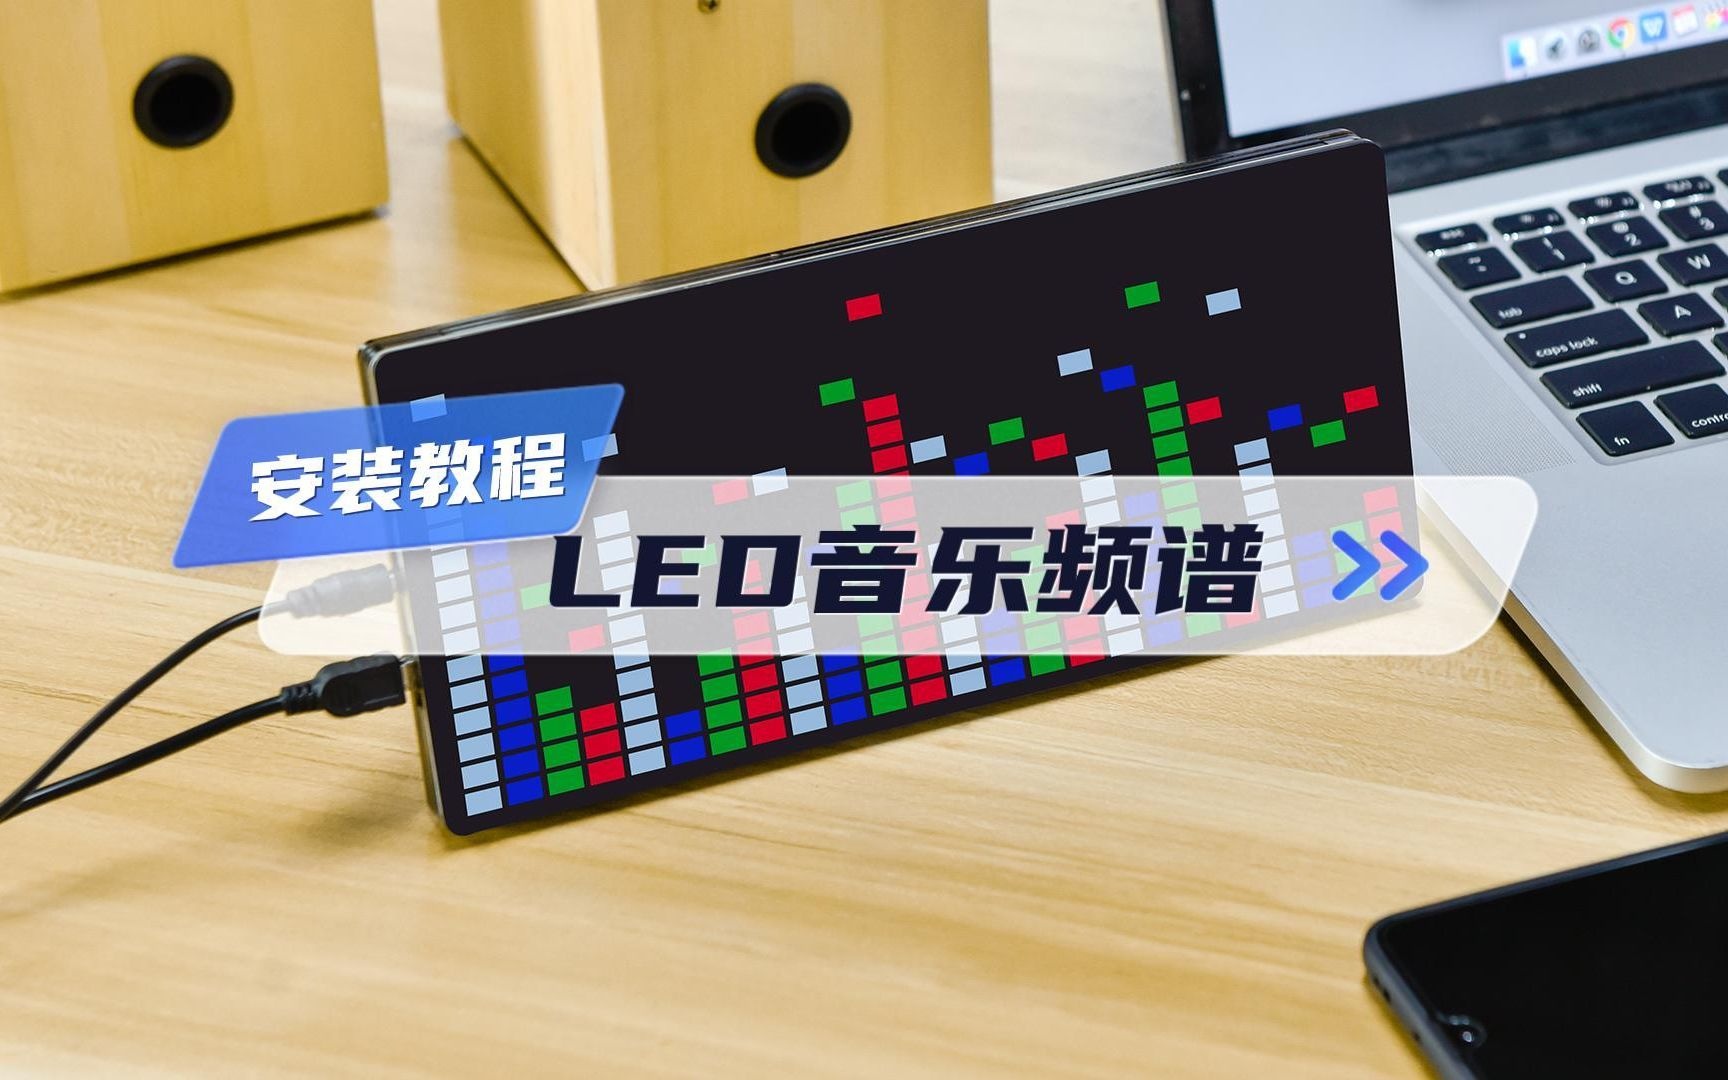
HU-008 LED音乐频谱电平显示制作套件
↑↑点击上方播放安装视频↑↑
1.产品焊接组装成果展示图
Product welding assembly results


2.元件清单
Component list


3.元件分布图
Component distribution diagram

4.电路原理图
Schematic

5.焊接方法
Welding method

6.电路板焊接步骤细节
PCB Welding procedure details
1.焊接贴片三极管,首先在其中一个焊盘上适量的焊锡;
To solder SMD transistors, first of all, a proper amount of solder on one of the pads;

接着用镊子夹持元件,烙铁融化焊锡后放入指定位置,确保元件摆放端正;
Then hold the component with tweezers, melt the soldering tin with the soldering iron and put it into the designated position to ensure the component is placed correctly;

最后焊接元件剩余的引脚,如下图所示,所有贴片元件基本按照此法焊接。
Finally, the remaining pins of the component are soldered, as shown in the following figure, and all chip components are basically soldered according to this method.


2.使用同样的方法焊接贴片电阻101(100Ω)。(无极性)
Use the same method to solder the chip resistor 101 (100Ω).(No polarity)


3.焊接贴片晶振、30pf贴片电容。(无极性)
Solder patch crystal oscillator, 30pf patch capacitor. (No polarity)


4.焊接153(15K)贴片电阻、106(10uf)贴片电容。(无极性)
Solder 153 (15K) chip resistors and 106 (10uf) chip capacitors. (No polarity)


5.对应丝印标识,焊接104贴片电容,10R(100)、334(330K)、474(470K)贴片电阻,如下图所示。
Corresponding to the silk screen logo, solder 104 chip capacitors, 10R (100), 334 (330K), 474 (470K) chip resistors, as shown below.


6.焊接100uF电解电容(引脚:长+短-),剪去多余长度的引脚;
Welding 100uF electrolytic capacitor (lead: long + short -), cut off the excess length of the lead;

电解电容白色条纹为负极,对应丝印黑色线条,如下图所示。
The white stripe of the electrolytic capacitor is the negative electrode, which corresponds to the black line of the silk screen, as shown in the figure below.

7.焊接2脚贴片按键,如下图所示。
Solder the 2-pin SMD button, as shown below.


8.焊接4脚贴片侧按键,如下图所示。
Solder the 4-pin patch side buttons, as shown in the figure below.


9.焊接3.5MM音频接口,如下图所示。
Welding 3.5MM audio interface, as shown in the figure below.


10.焊接MINI USB接口,如下图所示。
Weld the MINI USB interface as shown in the figure below.


11.可使用电路板清洗剂或酒精,擦除焊接时留下的松香助焊剂。
You can use circuit board cleaner or alcohol to wipe out the rosin flux left during soldering.


12.焊接完成图↓ Welding completion diagram↓

接上DC 5V电源,进行功能测试。
Connect a DC 5V power supply and perform a functional test.


显示语言设置和功能设置
Display language settings and feature settings
|
菜单语言设置 Menu language setting |
①按住“FUNC”键始终不放,直到设置结束; Hold down the "FUNC" key until the setting is over; |
②按一下“RESET”键,即进入测试模式 Press the "RESET" button to enter the test mode |
③等待测试进行中出现“ENG”松开“FUNC”键设置为英文;出现“PyC”松开“FUNC”键设置为俄文;出现“中”松开“FUNC”键设置为中文。 Wait for “ENG” and release the “FUNC” key when the test is in progress, and set to English; “PyC” = set to Russian; “中” = set to Chinese . |
|||
|
工作模式Working mode |
中文屏幕显示 Chinese screen display |
英文屏幕显示 English screen display |
可选项 /Optional |
功能设置说明 Function setting description |
出厂值 Factory value |
|
|
频谱显示方式 Spectrum display mode |
方式 N |
MODE N |
1 |
普通显示方式/Normal |
2: 浮标 方式 Buoy mode |
|
|
2 |
浮标显示方式/Buoy |
|||||
|
3 |
音符显示方式/Note |
|||||
|
4 |
块状显示方式/Block |
|||||
|
5 |
柱状显示方式/Columnar |
|||||
|
声道选择 Channel select |
声 左 右 双 |
CHL L R DUAL |
左/Left |
左声道音频输入/Left channel input |
左/Left |
|
|
右/Right |
右声道音频输入/Right channel input |
|||||
|
双/Double |
双声道/Binaural(DUAL) |
|||||
|
重要说明:单声道输入时,需调整此项,以便显示屏能检测到信号显示频谱。 Important Note: When mono input, you need to adjust this item, so that the display can detect the signal display spectrum. |
||||||
|
设定小时 Set hour |
时 xy |
HOUR xy |
00-23 |
短按按键即可改小时的值 Short press the button to change the hour value |
08 |
|
|
设定分钟 Set minutes |
分 xy |
MIN xy |
00-59 |
短按按键即可改变分钟的值 Short press the button to change the minute value |
08 |
|
|
自动增益调节功能 Automatic gain adjustment function |
自动 1(0) |
GAIN ON(OFF) |
1:开/ON |
开启/Open |
开/Open |
|
|
0:关/OFF |
关闭/Shut down |
|||||
|
灵敏度 设置 Sensitivity Set up |
灵度 H(L) |
SENS H(L) |
H |
对音频反应的灵敏度高 /High sensitivity to audio response |
H |
|
|
L |
对音频反应的灵敏度低 /Low sensitivity to audio response |
|||||
|
时间显示开关 Time display switch |
时显 1(0) |
TIME ON(OFF) |
1:开/ON |
打开时钟显示功能 /Turn on the clock display function |
1:开/ON |
|
|
0:关/OFF |
关闭时钟显示功能 /Turn off the clock display function |
|||||
|
显示刷新速度 Display refresh rate |
显 速 1-8
|
SPEED 1-8
|
1-8 |
显示刷新速度从慢到快 /Display refresh rate from slow to fast |
6 |
|
|
频谱显示顺序 Spectrum display order |
音 序 顺序 (优化) |
DISP SEQ |
顺序/order |
频谱显示由低到高顺序排列/Spectrum display arranged from low to high |
顺序排列/Order |
|
|
优化/optimization |
频谱显示按优化的顺序排列/Spectrum display arranged in optimized order |
|||||
|
其它设置 Other settings |
其 他 N(1-8) |
OTHER N(1-8) |
1-8 |
设置自动增益状态下的频谱显示的平衡度。/Set the balance of the spectrum display in the automatic gain state. |
3 |
|
故障排查
Troubleshoot
1.整列LED不亮。
如下图所示,列从左到右为Q1~Q24,若该列LED不亮,则检查对应的三极管是否焊接完好。
1. The entire column of LEDs is off.
As shown in the figure below, the columns are from Q1 to Q24 from left to right. If the LEDs in this column are off, check whether the corresponding transistor is in good condition.


2.整行LED不亮。
如下图所示,行从下往上为ROW0~ROW15,若该行LED不亮,则根据原理图检查对应芯片引脚是否焊接好。
2.The entire row of LEDs is off.
As shown in the figure below, the row is ROW0~ROW15 from bottom to top. If the LED is not lit, check whether the corresponding chip pin is soldered according to the schematic diagram.


3.单个LED不亮。
检查该LED是否损坏,可通过万用表(调到二极管档位)检测,红表笔接+、黑表笔接-,如下图所示。
3. A single LED does not light.
Check if the LED is damaged, it can be detected by a multimeter (adjusted to the diode position), the red test lead is connected with +, and the black test lead is connected with -, as shown in the following figure.


若LED可以正常发光,则重新用烙铁补焊该LED两端的引脚焊盘即可。
If the LED can emit light normally, use a soldering iron to repair the solder pads on both ends of the LED.
7.外壳安装说明
Shell installation instructions
1.撕去亚克力外壳的保护膜。
Remove the protective film from the acrylic shell.
2.安装正面(圆头短螺丝)。
Install the front (short round head screws).


3.装上电路板,如下图所示,并用双通铜柱拧紧固定。
Install the circuit board as shown in the figure below, and fasten it with a double-pass copper post.


4.对应安装四周边框,如下图所示。
Corresponding to the border around the installation, as shown below.


5.用螺丝(长)和螺母固定支架脚,注意【RESET】键的开孔位置,如下图所示。
Screws (long) and nuts fix the legs of the bracket, pay attention to the opening position of the [RESET] key, as shown in the figure below.


6.对应安装背面外壳,并用(平头短螺丝)固定,如下图所示。
Correspondingly install the back shell and fix it with (short flat screws), as shown in the figure below.


装完毕后可用酒精、液晶屏清洗剂擦洗外壳上留下的指纹污渍。
After installation, you can use alcohol and LCD screen cleaner to scrub the fingerprint stains left on the casing.
到此安装完毕。
This is the end of the installation.
结束
The End


