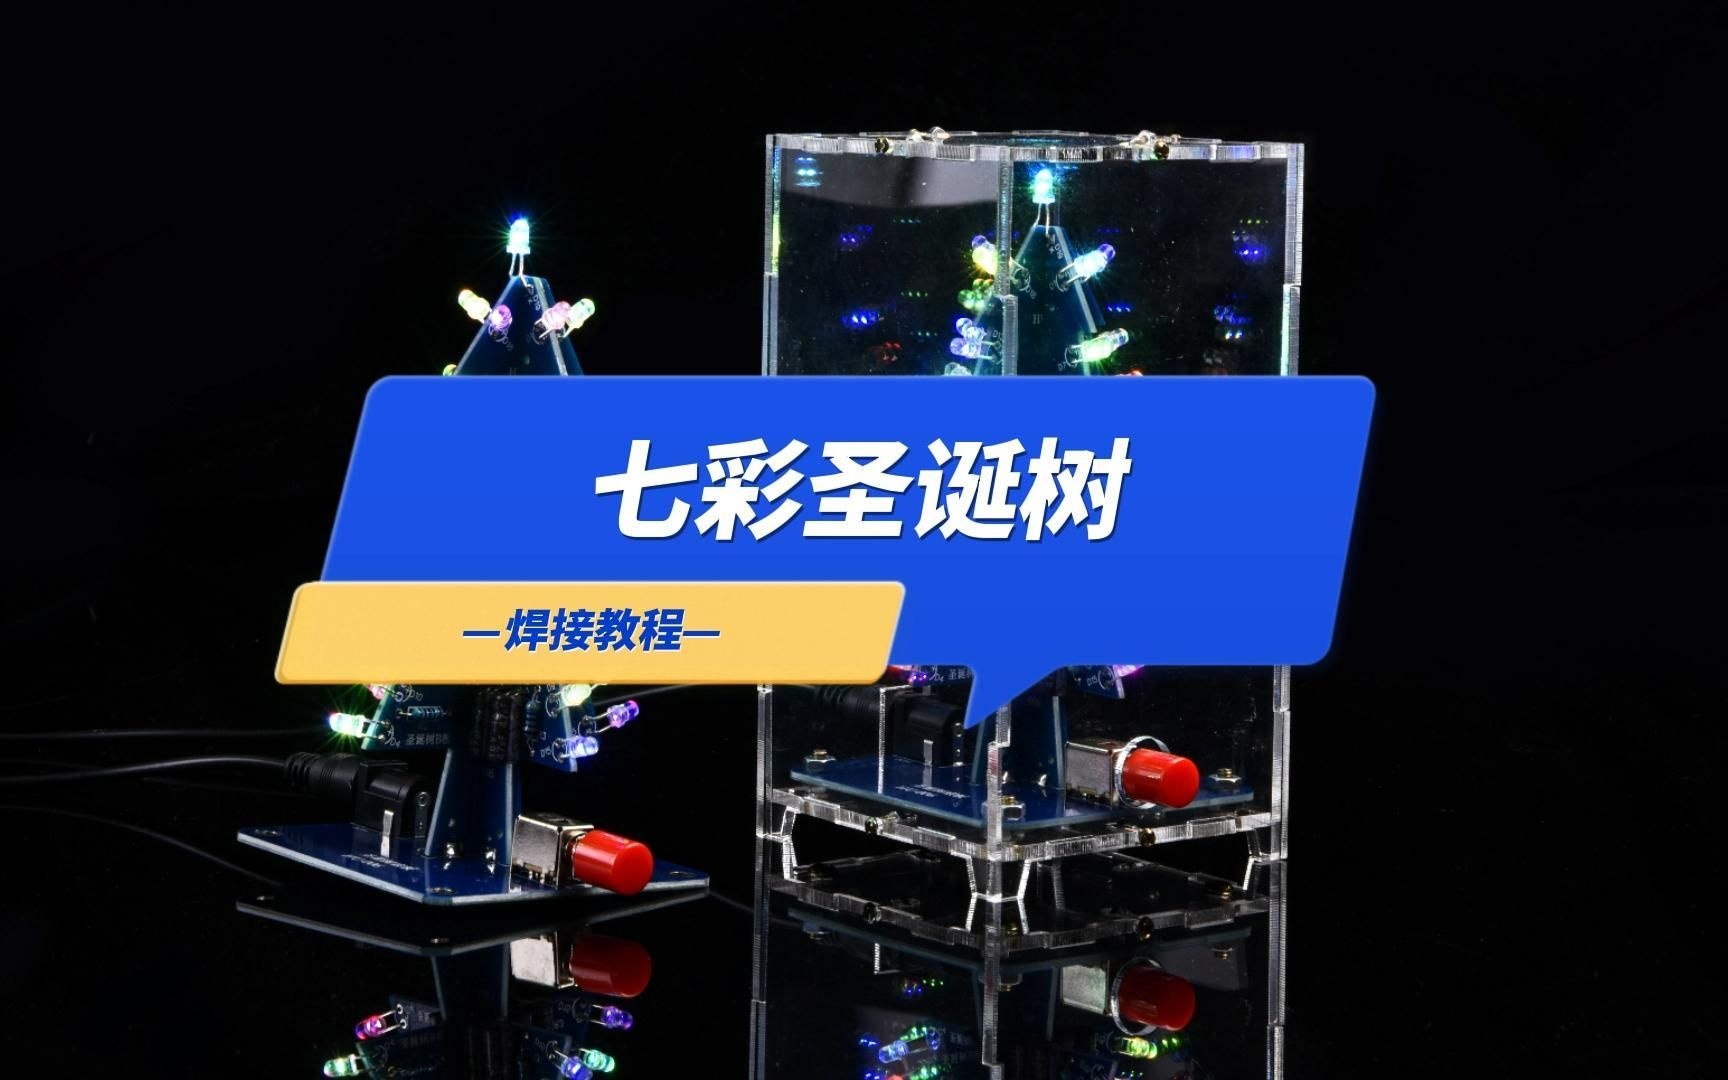
HU-006 圣诞树制作套件 Christmas tree making kit
☞关注公众号再阅读!☜
☞防止下次再迷路!!☜
1.产品焊接组装成果展示图
Product welding assembly results


2.元件清单
Component list


3.元件分布图
Component distribution diagram


4.电路原理图
Schematic

5.焊接方法
Welding method

6.电路板焊接步骤细节
PCB Welding procedure details
1.焊接100Ω电阻(无极性)。
Welding 100Ω resistance (no polarity).

2.焊接4.7K电阻(无极性)。
Welding 4.7K resistance (no polarity).

3.焊接47uF电解电容(引脚:长+短-)。
Welding 47uF electrolytic capacitor (pin: long + short-).


4.焊接S9014三极管(对应丝印图形放置);
Welding S9014 transistor (corresponding to the placement of silk screen graphics);

焊接完毕后向外弯折。
Bend out after welding.


5.焊接LED(长+短-)。
Soldering LED (long + short-).

焊接完毕后向外弯折。
Bend out after welding.


6.将圣诞树A板、B板安装到底板上(注意丝印标识的极性对应),如下图所示。
Install the A board and B board of the Christmas tree to the bottom board (note the polarity of the silk screen logo), as shown in the figure below.


确认极性放置正确后,用焊锡固定A、B板。
After confirming that the polarity is placed correctly, fix the A and B boards with solder.

7.焊接顶部LED(引脚:长+短-)。
Solder the top LED (pin: long + short-).


8.用焊锡焊接固定A、B板(4个焊点)。
Fix A and B boards (4 solder joints) with solder.

9.最后焊接底板上的自锁开关和电源接口(DC5V供电)。
Finally, weld the self-locking switch and power supply interface (DC5V power supply) on the bottom plate.

7.外壳安装说明
Shell installation instructions
1.撕掉亚克力外壳两面的保护膜。
Remove the protective film on both sides of the acrylic shell.

2.安装底板螺丝螺母。
Install the screws and nuts on the bottom plate.
图片模块


3.用螺母将底板固定到外壳上。
Fix the bottom plate to the housing with nuts.

4.安装侧面外壳(注意选用对应开口的亚克力板),并在所有固定位置锁上螺丝螺母。
Install the side shell (note that the acrylic plate corresponding to the opening is selected), and lock the screw nut at all fixed positions.


5.最后安装固定顶部外壳。
Finally, install and fix the top housing.

到此安装完毕。
This is the end of the installation.
结束
The End


