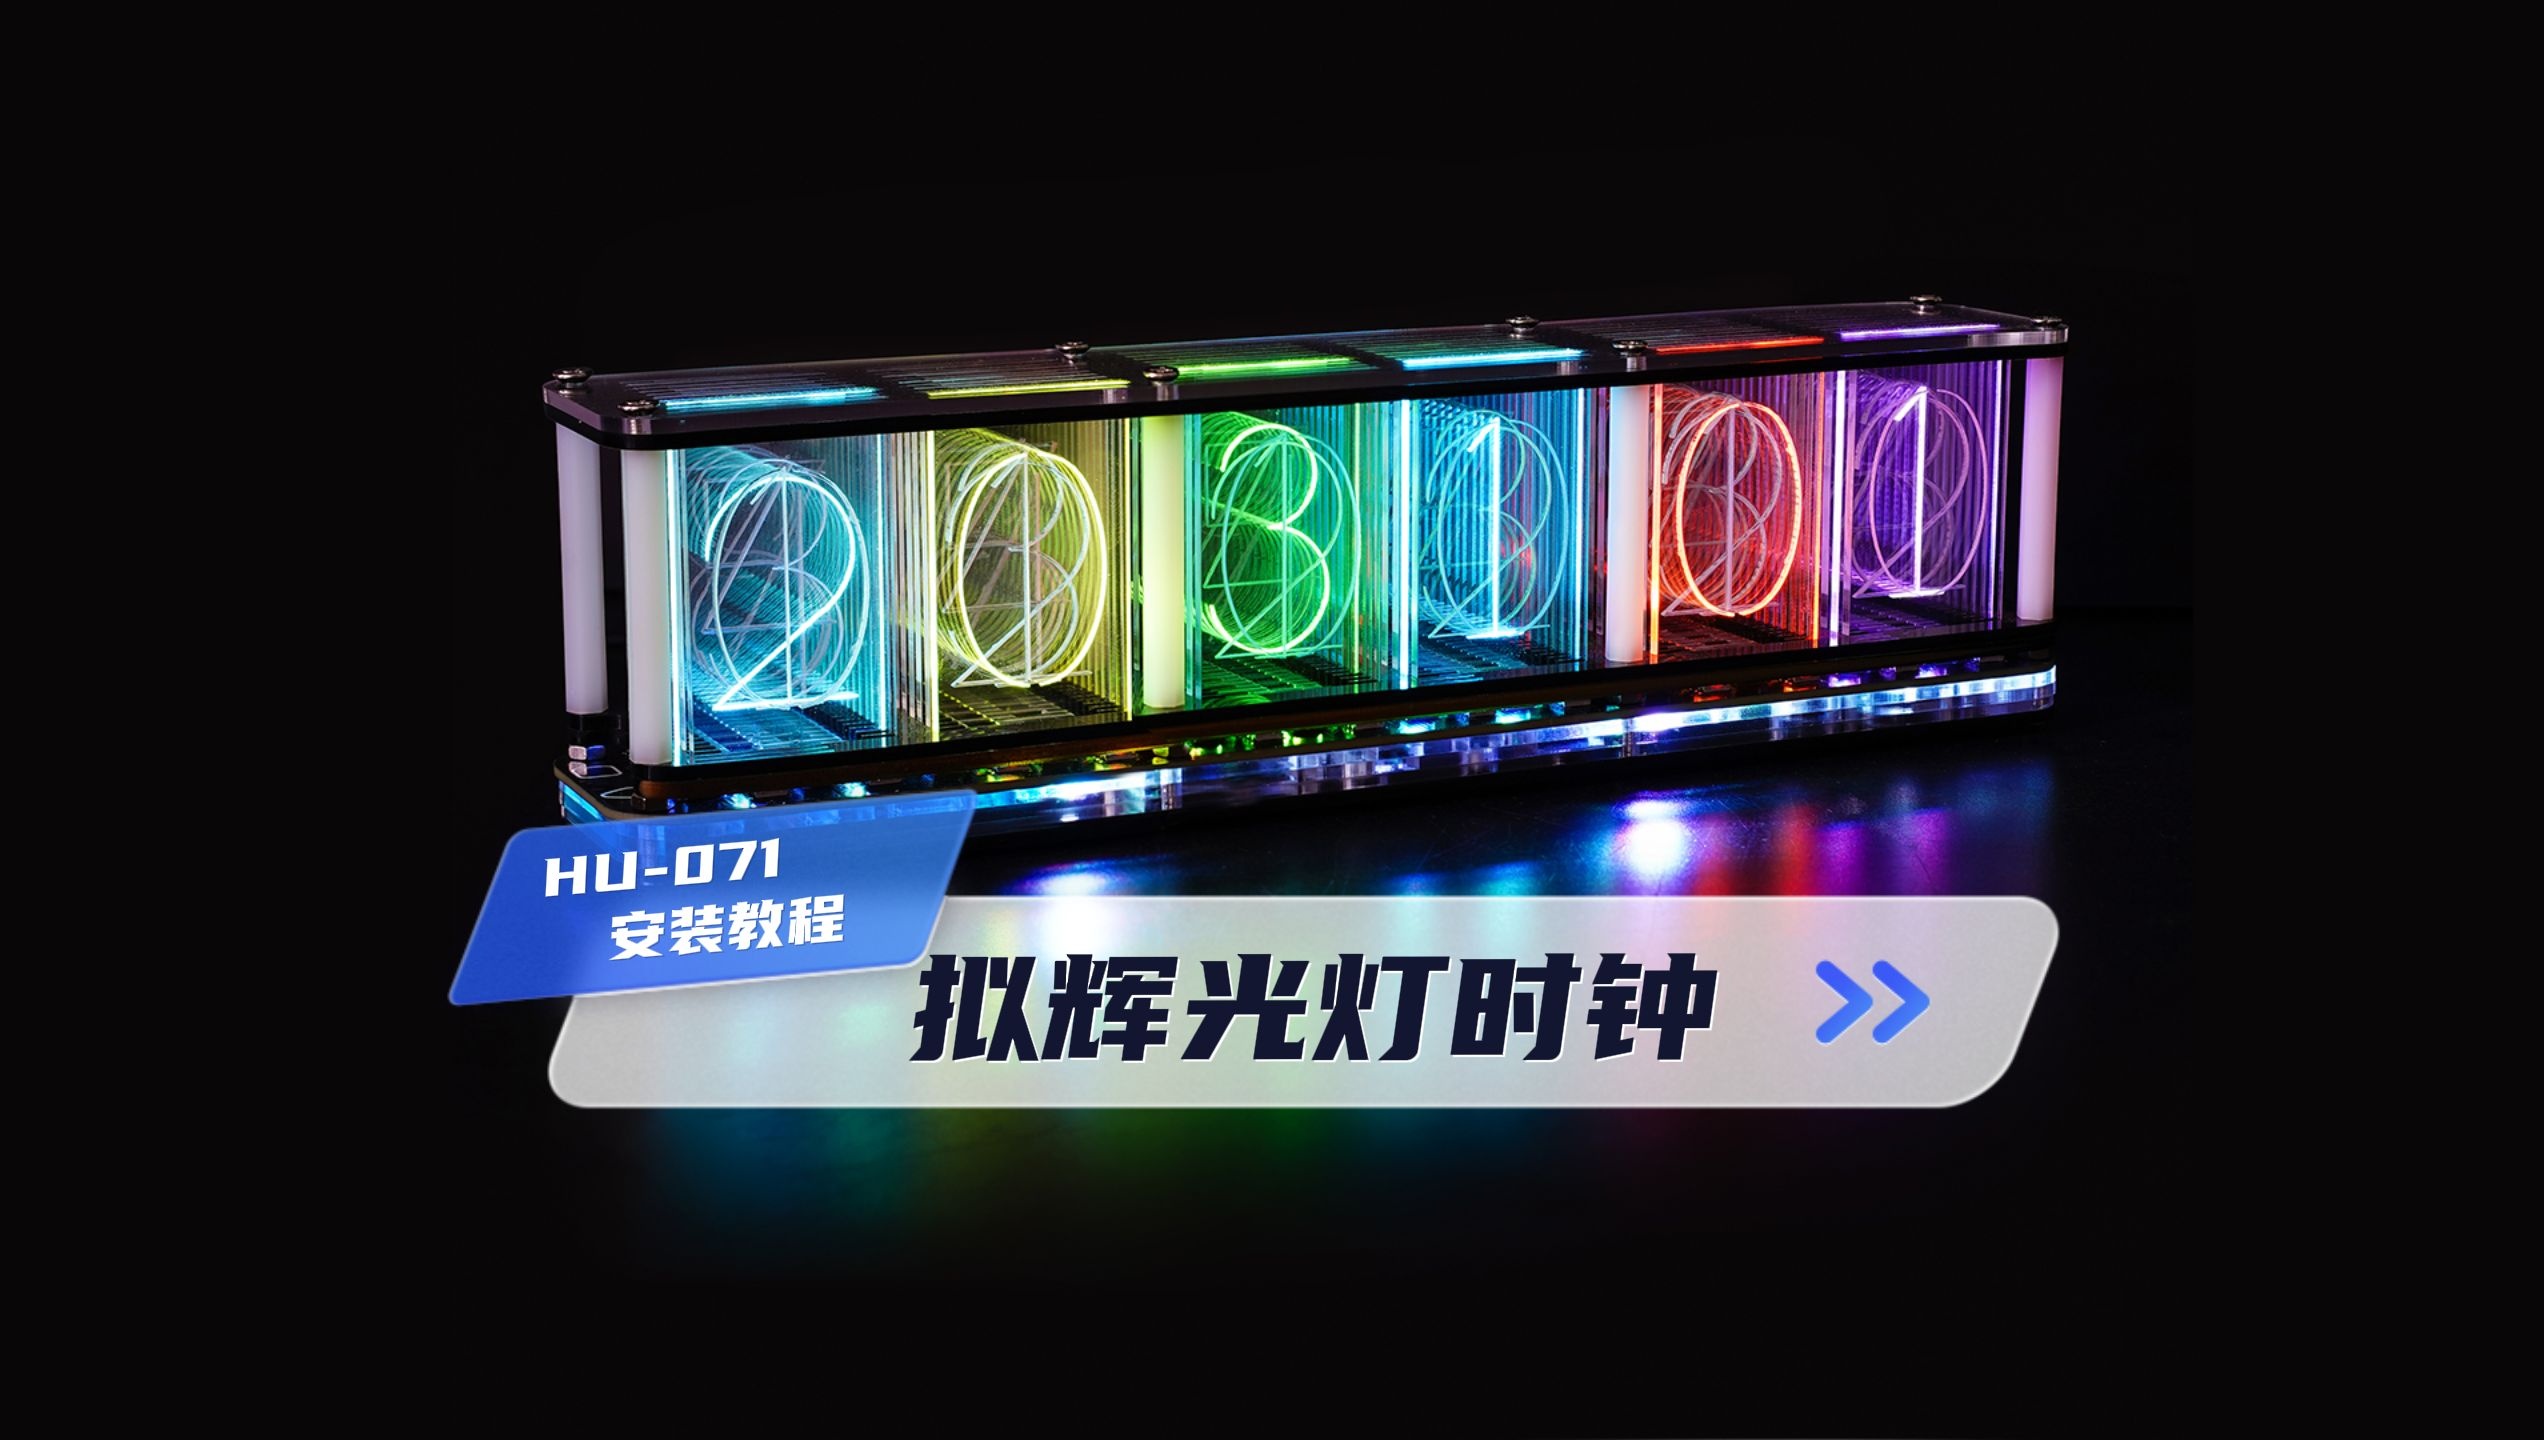
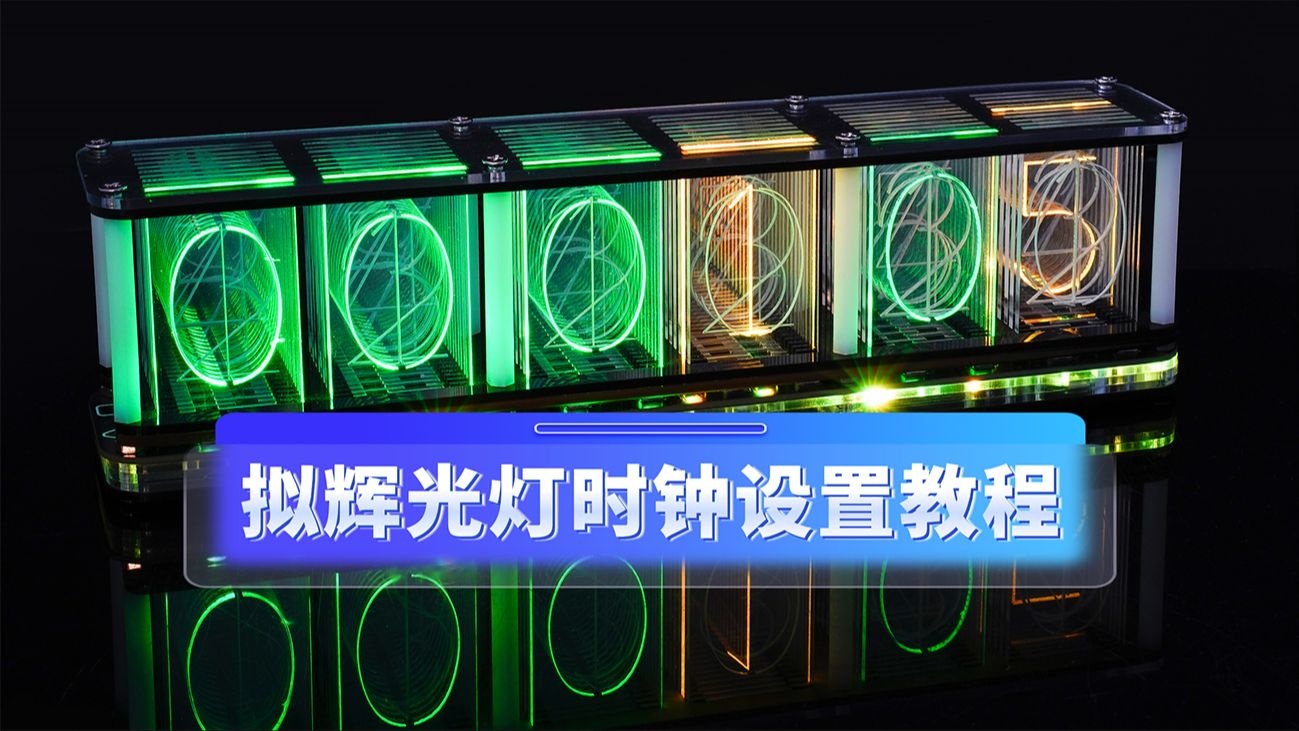
HU-071 拟辉光灯时钟


HU-071 拟辉光灯时钟
Glow-like clock
Ⅰ、功能介绍 Function introduction
|
模拟辉光时钟效果 |
音乐频谱显示功能 |
高亮显示RGB彩色灯光 |
|
高精度DS3231时钟芯片 |
时间断电不丢失 |
触摸按钮控制 |
|
多重变色效果 |
时间温度日期自动切换 |
闹钟功能 |
|
格式设置 |
底部侧光效果 |
暗光自动进入低亮度显示 |
|
6位数字显示颜色功能 |
提醒动画特效 |
多种转换效果 |
|
倒计时功能 |
秒表功能 |
可设置颜色变化的速度 |
|
可随时暂停颜色变化 |
关机时自动保存设置数据 |
多层亚克力外壳 |
|
Simulated glow clock effect |
Music spectrum display function |
Highlight RGB color lights |
|
High precision DS3231 clock chip |
Time off is not lost |
Touch button control |
|
Multiple color effect |
Time, temperature and date switch automatically |
Alarm clock function |
|
formatting |
Bottom side light effect |
Low light automatically enters the low brightness display |
|
6 digit display color function |
Reminder animation effects |
Multiple conversion effects |
|
Countdown function |
Stopwatch function |
The speed of color change can be set |
|
Color changes can be paused at any time |
The Settings are automatically saved when the machine is shut down |
Multi-layer acrylic shell |
Ⅱ、套件特性 Kit characteristics
1、由专用电路板、亚克力数字牌等部件组成
2、RGB炫彩灯光
3、掉电不丢失数据,无需重新配置时间
4、电容触摸按键
5、闹钟功能
6、秒表功能
7、倒计时功能
8、环境亮度低时自动进入暗光模式
9、多种炫彩颜色随意切换
10、供电电压:直流5V
11、常亮最高电流约为:30mA,暗光电流约为:10mA,
12、252毫米* 46毫米* 70毫米(人工测量,约有1~2mm误差)
13、重量:大约486克左右(人工测量,约有1~2克误差)
1, by the special circuit board, acrylic digital plate and other components
2, RGB dazzling lighting
3, power failure does not lose data, no need to reconfigure the time
4, capacitive touch button
5. Alarm clock function
6, stopwatch function
7, countdown function
8. Automatically enter dark light mode when the ambient brightness is low
9, a variety of dazzling colors at will
10, power supply voltage: DC 5V
11, the maximum current of steady light is about: 30mA, dark current is about: 10mA,
12, 252 mm * 46 mm * 70 mm (manual measurement, about 1~2mm error)
13, weight: about 486 grams (manual measurement, about 1~2 grams error)
Ⅲ.安装教程 Installation tutorial
1.先安装3个透明底壳,注意每个底壳的孔位,开孔最多的安装在电路板最里面,开孔最少的安装在最外面,依次放在电路板上。
1. Install three transparent bottom shells first. Pay attention to the holes in each bottom shell. Install the most holes in the innermost part of the circuit board, and install the least holes in the outermost part of the circuit board.

2.安装黑色底部外壳,注意图中开孔的位置与电路板对应,安装上去即可,并把M3长螺丝对准八个孔位插入进去,在另外一面,用M3螺母拧紧即可。
2. Install the black bottom shell. Note that the positions of the holes in the picture correspond to the circuit board. Install the black bottom shell and insert the M3 long screw into the eight holes.


3.先把带灯孔的黑色外壳对准M3螺丝插入到电路板上,再把图中最下面黑色的外壳对准孔位插入到电路板上,注意外壳有缺口的一侧在左边(有三角形和方形图标的一侧)。
3. Insert the black shell with light holes into the circuit board by aligning the M3 screw, and then insert the black shell at the bottom of the figure into the circuit board by aligning the holes. Note that the notched side of the shell is on the left side (the side with triangle and square ICONS).

4.对准孔位之后,安装8个M3尼龙柱,对准M3螺丝,拧紧,尽量不要让M3尼龙柱倾斜,拿出最后一块黑色亚克力,先暂时固定M3平头螺丝。
4. After aligning the holes, install eight M3 nylon columns, align the M3 screws, and tighten them. Try not to tilt the M3 nylon columns, take out the last piece of black acrylic, and temporarily fix the M3 flat head screws.


5.把显示的数字,从后面箭头方向从9~0依次插入,注意好孔位和顺序,注意电路板的三角形和方形图标在图中左侧。
5. Insert the displayed numbers from 9 to 0 in the direction of the arrow at the back, paying attention to the hole position and order, and note that the triangle and square ICONS of the circuit board are on the left side of the figure.


6.缓慢拧下中间两颗螺丝,透明亚克力板放到一侧固定一个脚之后,去掉这一侧下方黑色亚克力板上锁的螺丝,另外一侧先把黑色亚克力板上锁的螺丝缓慢拧下,再安装透明亚克力的螺丝。
6. Slowly unscrew the middle two screws. After the transparent acrylic plate is placed on one side to fix a foot, remove the locking screws of the black acrylic plate under this side. Slowly unscrew the locking screws of the black acrylic plate on the other side first, and then install the screws of the transparent acrylic.


7.拧上所有的M3平头螺丝进行固定。
7. Screw on all M3 flat head screws for fixing.

8.给背部插上5V电源,正常显示时间,可以根据说明书进行功能设置,也可以扫描扫描二维码,关注公众号进行观看视频教程以及详细功能介绍。
8. Plug in 5V power to the back, display the time normally, you can set the function according to the instruction manual, you can also scan the QR code, pay attention to the public number to watch the video tutorial and detailed function introduction.

Ⅳ.使用说明 Instructions for use
|
[数字0]时间设置 |
[数字1]日期设置 |
[数字2]报警设置 |
|
[数字3]格式设置 |
[数字4]切换显示效果 |
[数字5]切换持续时间设置 |
|
[数字6]底部LED灯效选择 |
[数字7]切换自动调光功能 |
[数字8]测试功能 |
|
[数字9]自定义数字颜色 |
[数字10]设置蜂鸣动画效果 |
[数字11]设置“秒”转换效果 |
|
[数字12]倒计时功能 |
[数字13]秒表功能 |
[数字14]设置颜色渐变速度 |
详细介绍:
|
时钟模式功能-音乐频谱显示功能切换 |
长按设置键(方形图标) |
|
暂停颜色变化 |
短按设置按钮(方形图标) |
|
切换色彩效果 |
短按切换按钮(三角形图标) |
时钟模式:
|
进入或退出时钟菜单 |
同时按设置(方形图标)+开关触摸键(三角形图标) |
|
切换0~14种工作模式 |
进入时钟模式菜单后,短触切换键(三角形图标) |
|
选择将要调试的工作模式后,短触确定按键(方形图标),进入该工作模式后,点击切换按键(三角形图标),可以切换多种功能,选择喜欢的功能,短触确定按键(方形图标) |
|
音乐频谱模式:
|
暂停颜色变化 |
短按设置键(方形图标) |
|
不同颜色渐变效果之间切换 |
短按切换键(三角形图标) |
|
进入音乐频谱模式,你只需要打开音乐播放设备(手机、音箱、MP3播放器等)。显示音乐频谱弹起效果,放在麦克风背面效果更好~ |
|
时钟模式详细功能介绍:
|
数字0 |
时间设置 |
切换键(三角形图标)修改闪烁参数值,设置键(方形图标)确认修改 |
|
数字1 |
日期设置 |
修改顺序为:年-月-日 |
|
数字2 |
闹钟 |
0-关闭警报 1-开启报警,进入报警时间设置 |
|
数字3 |
格式设置(格式) |
【0】:(小时格式):24-24小时制模式;12-12小时系统模式 |
|
【1】:(日期格式):12-31:月-日模式;31-12:日-月模式 |
||
|
【2】:(温度格式):摄氏和华氏 |
||
|
数字4 |
切换效果选择 |
0-仅时间显示 |
|
1-从左到右的扫掠效果 |
||
|
2-整体清扫效果 |
||
|
3-中间向两边逐一照明效果 |
||
|
4-从左到右逐一点亮效果 |
||
|
5-随机扫描效果 |
||
|
6-从中间到两边的清扫效果; (注:切换显示顺序为:时间-温度-日期周) |
||
|
数字5 |
切换持续时间设置 |
(5)每5秒切换一次 |
|
(10)每-10秒切换一次 |
||
|
(30)每-30秒切换一次 |
||
|
(60)每隔-60秒切换一次 |
||
|
(5分钟)每5分钟切换一次 |
||
|
(10分钟)每10分钟切换一次 |
||
|
(15分钟)每15分钟切换一次 |
||
|
(30分钟)每30分钟切换一次 |
||
|
(60分钟)每60分钟切换一次 |
||
|
数字6 |
底部的LED效果选择 |
0-关闭底部LED效果 |
|
1-彩虹色渐变 |
||
|
2-按下按钮开灯 |
||
|
3-冷色渐变 |
||
|
4-烛光色彩效果 |
||
|
5-极光颜色渐变 |
||
|
数字7 |
切换自动调光功能 |
0-关闭黑暗模式 |
|
1-开启自动暗模式(当检测到环境光较暗时,会自动进入低亮度模式) |
||
|
数字8 |
测试功能 |
固定设置为“0”,请勿随意修改 |
|
数字9 |
自定义数字的颜色 |
切换键(三角形图标)修改闪烁数字的颜色值(共17种颜色),设置键(方形图标)确认修改后的颜色,进入下一个数字的颜色设置 |
|
数字10 |
设置每小时和半小时的编钟动画效果 |
0-无转换效果 |
|
1-清扫效果 |
||
|
2-褪色效应 |
||
|
3-混音效果(整点报时进入扫频效果,半点报时进入渐变效果) |
||
|
数字11 |
设置秒的数字转换效果 |
0-无转换效果 |
|
1-数字渐进效果 |
||
|
2-数字呼吸效果 |
||
|
3-混合效果(每天自动切换) |
||
|
数字12 |
倒计时功能 |
输入分、秒,按设置按钮(方形图标)开始倒计时,倒计时结束蜂鸣器鸣响,任意触摸键退出倒计时 |
|
数字13 |
秒表功能 |
按下开关按钮(三角形图标)开始计时,再次按下暂停计时,再次按下重置计时器(最大计时为99分钟、60秒和990毫秒)。切换键功能循环:开始计时-暂停计时-计时复位;按下设置按钮(方形图标)退出秒表功能; |
|
数字14 |
设置颜色渐变速度 |
七级设置1-7:从快到慢 |
|
数字15 |
测试发光二极管的质量 |
按下切换键(三角形图标)切换测试颜色。总共测试了红、绿、蓝三种颜色。按下设置键(方形图标)退出测试。 |
Ⅳ. Instructions for use
|
[number 0] Time setting |
[number 1] Date setting |
[number 2] Alarm Settings |
|
[Number 3] Format Settings |
[Number 4] Switch display effect |
[number 5] Toggles duration Settings |
|
[Number 6] Bottom LED light effect selection |
[Number 7] Switch automatic dimming function |
[Number 8]Test function |
|
[Number 9] Customize the number color |
[Number 10] Set the buzz animation effect |
[number 11] Set the Second conversion effect |
|
[number 12] Countdown function |
The function of the stopwatch |
[Number 14] Sets the color gradient speed |
Detailed introduction:
|
Clock mode function - Music spectrum display function switch |
Long press the Settings key (square icon) |
|
Pause color change |
Tap the Settings button (square icon) |
|
Toggle color effect |
Tap the toggle button (triangle icon) |
Clock mode:
|
Enter or exit the Clock menu |
Simultaneously press Settings (square icon)+ Switch touch key (triangle icon) |
|
Switch between 0 and 14 working modes |
After entering the clock mode menu, tap the toggle button (triangle icon) |
|
After selecting the working mode to be debugged, tap to confirm the key (square icon), after entering the working mode, click the switch button (triangle icon), you can switch multiple functions, select your favorite function, and tap to confirm the key (square icon). |
|
Music frequency pattern:
|
Enter or exit the Clock menu |
Tap the Settings key (square icon) |
|
Switch between different color gradient effects |
Tap the toggle button (triangle icon) |
|
To enter the music spectrum mode, all you need to do is turn on your music playing device (phone, speaker, MP3 player, etc.). Display music spectrum bouncing effect, put on the back of the microphone effect is better ~ |
|
Clock mode detailed function introduction:
|
Number 0 |
Time setting |
The toggle key (triangle icon) modifies the blinking parameter value, and the set key (square icon) confirms the modification |
|
Number 1 |
Date setting |
The modification sequence is as follows: year-month-day |
|
Number 2 |
Alarm clock |
0- Turn off alarm 1- Turn on alarm and enter alarm time setting |
|
Number 3 |
Formatting (Format) |
[0] :(hour format):24-24 hour mode; 12-12 hour system mode |
|
[1] :(Date format):12-31: month-day mode; 31-12: Day-Month mode |
||
|
[2]:(Temperature format):Celsius and Fahrenheit |
||
|
Number 4 |
Toggle effect selection |
0- Time only displayed |
|
1- Sweep effect from left to right |
||
|
2- Overall cleaning effect |
||
|
3- Middle to both sides one by one lighting effect |
||
|
4- Light effects one by one from left to right |
||
|
5- Random scanning effect |
||
|
6- Cleaning effect from the middle to both sides; (Note:Switch display sequence: time-temperature-date week) |
||
|
Number 5 |
Toggle duration Settings |
(5) Switch every 5 seconds |
|
(10) Switch every -10 seconds |
||
|
(30) Switch every -30 seconds |
||
|
(60) Switch every -60 seconds |
||
|
(5 minutes) Switch every 5 minutes |
||
|
(10 minutes) Switch every 10 minutes |
||
|
(15 minutes) Switch every 15 minutes |
||
|
(30 minutes) Switch every 30 minutes |
||
|
(60 minutes) Switch every 60 minutes |
||
|
Number 6 |
Bottom LED effect selection |
0- Turn off the bottom LED effect |
|
1- Rainbow gradient |
||
|
2- Press the button to turn on the light |
||
|
3- Cool gradient |
||
|
4- Candlelight color effect |
||
|
5- Aurora color gradient |
||
|
Number7 |
Switch the auto dimming function |
0- Turn off Dark mode |
|
1- Turn on Auto dark mode (automatically enters low brightness mode when detecting low ambient light) |
||
|
Number 8 |
Test function |
The value is set to 0. Do not change it |
|
Number 9 |
Customize the color of the number |
The switch key (triangle icon) modifies the color value of the blinking number (17 colors in total), and the set key (square icon) confirms the modified color and enters the color setting of the next number |
|
Number 10 |
Set hourly and half-hour chime animation effects |
0- No conversion effect |
|
1- Cleaning effect |
||
|
2- Fading effect |
||
|
3-mixing effect (entry sweep effect in the whole point, and enter the gradient effect at half time) |
||
|
Number 11 |
Set the number conversion effect for seconds |
0- No conversion effect |
|
1- Digital progressive effect |
||
|
2- Digital breathing effect |
||
|
3- Mixed effects (automatically switched daily) |
||
|
Number 12 |
Countdown function |
Enter minutes and seconds, press the set button (square icon) to start the countdown, the buzzer will sound when the countdown ends, and touch the key to exit the countdown |
|
Number 13 |
Stopwatch function |
Press the switch button (triangle icon) to start the timer, press again to pause the timer, and press again to reset the timer (Max. 99 minutes, 60 seconds, and 990 milliseconds). Switch key function cycle: start timing - pause timing - timing reset; Press the Setup button (square icon) to exit the stopwatch function |
|
Number 14 |
Set the color gradient speed |
Seven level Settings 1-7: from fast to slow |
|
Number 15 |
Test the quality of the LED |
Press the Toggle button (triangle icon) to switch the test color. A total of three colors were tested: red, green and blue. Press the Setup key (square icon) to exit the test. |


