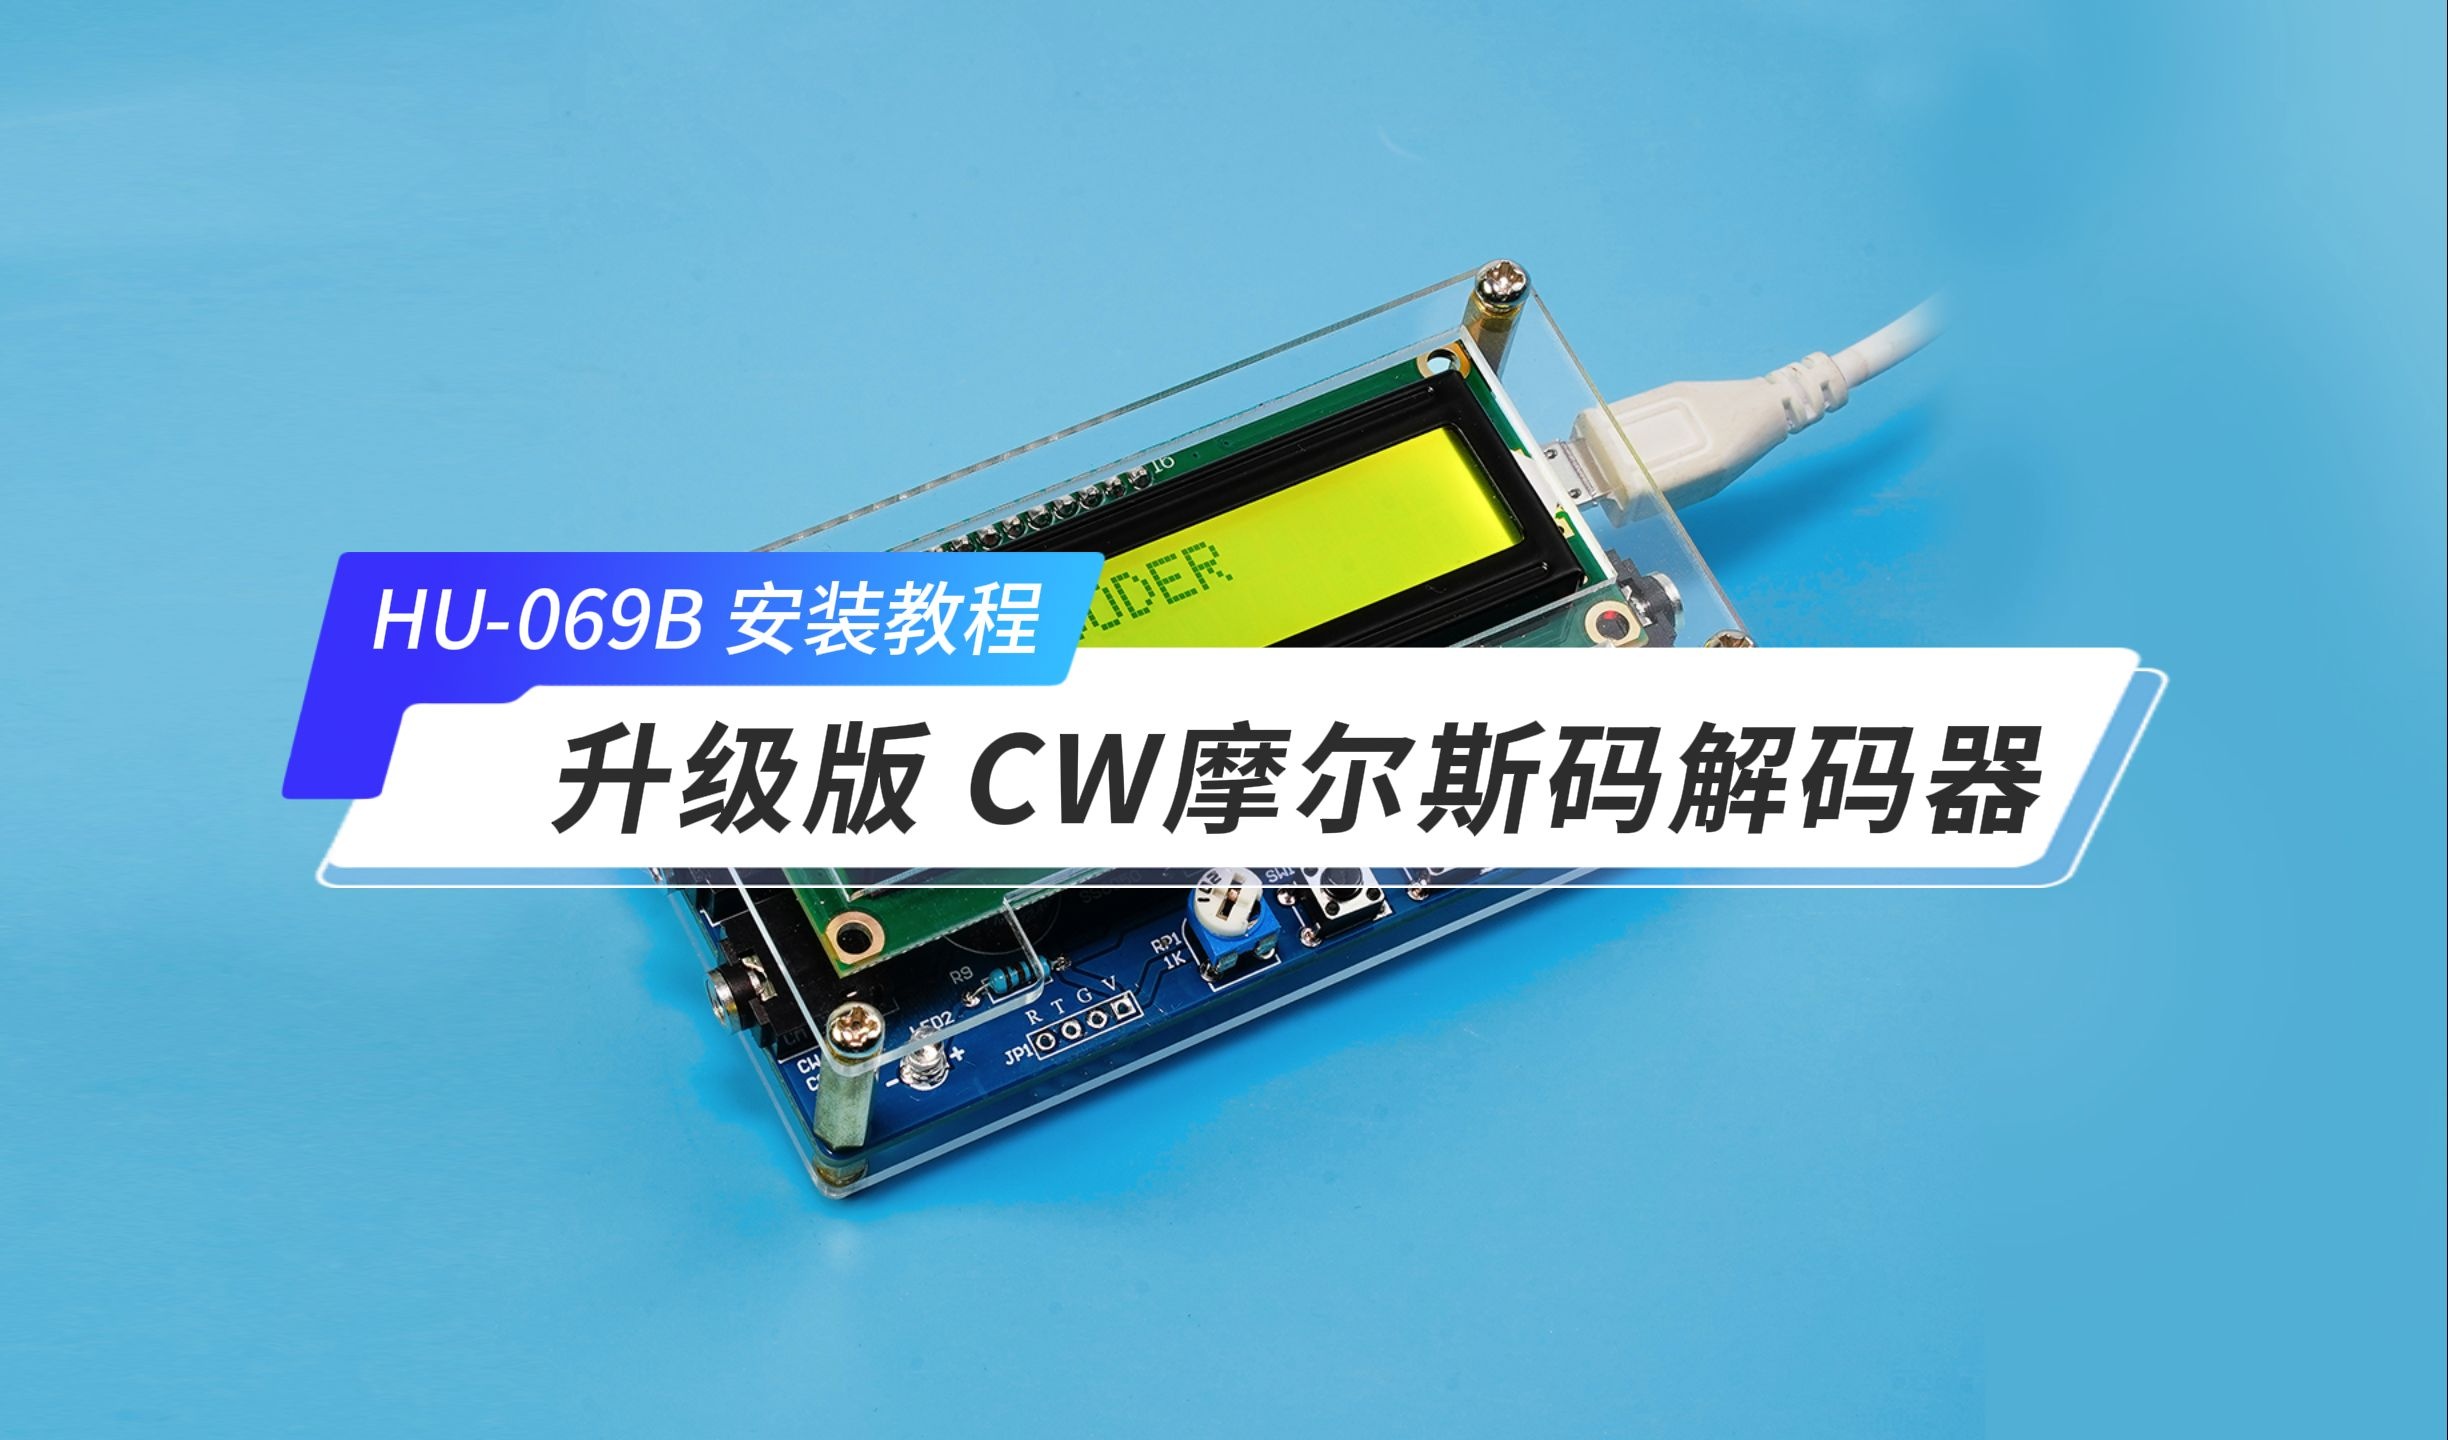
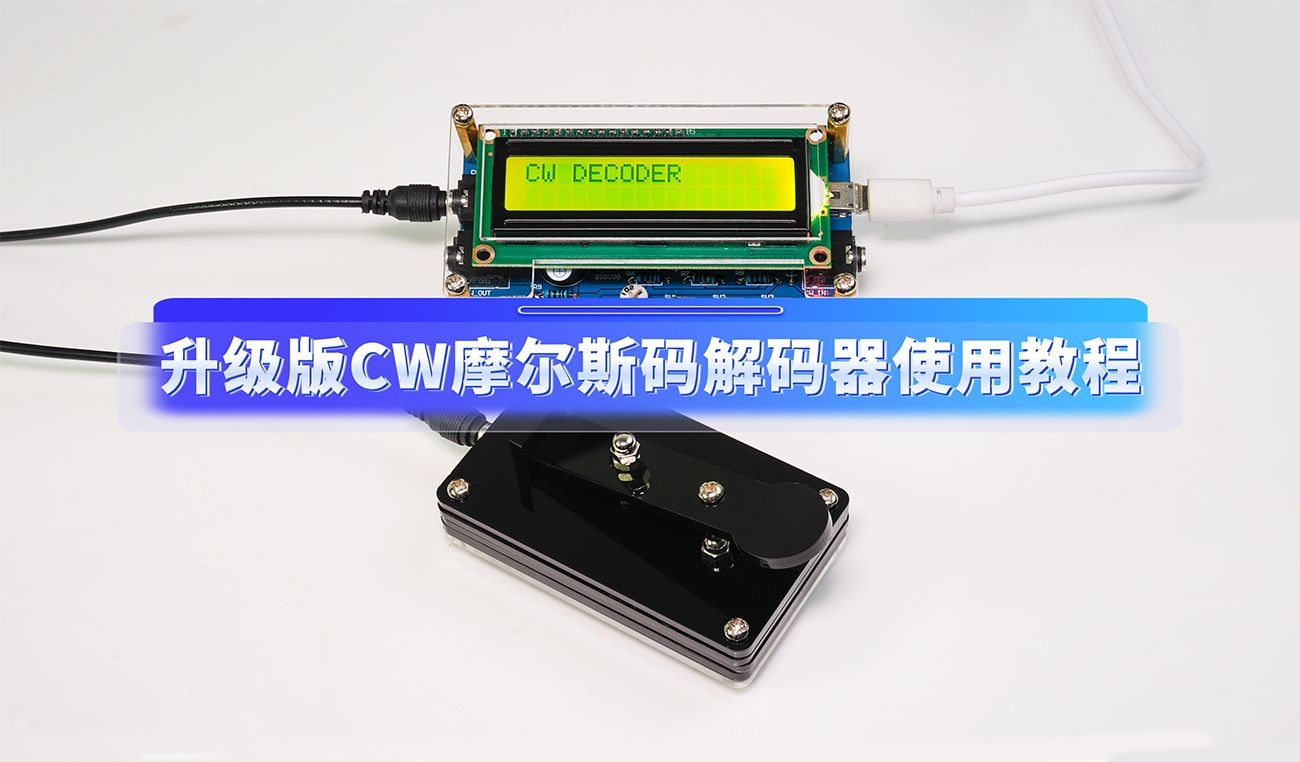
HU-069B 升级版CW摩尔斯码解码器


HU-069B 升级版CW摩尔斯码解码器
Ⅰ、功能 Function
1、CW音频信号输入
CW audio signal input
2、显示接收到的摩尔斯码
Display received Morse code
3、将接收到的摩尔斯码音频解码为字符
Decode the received Morse code audio into characters
4、显示接收码率
Display receiving code rate
5、调整接收摩尔斯码时间
Adjusting the receiving Morse code time
6、外接CW按键,用于练习发摩尔斯码
External CW button for practicing sending Morse codes
7、搭配蜂鸣器,实时收听接收到的摩尔斯码
The circuit board is equipped with a buzzer to listen to the received Morse code in real time
Ⅱ、特性 Characteristic
Ⅲ、元件清单 BOM
|
序号/Number |
名称 |
Name |
标号/Lable |
数量/Number |
备注/Remarks |
|
1 |
3F07耳机插座 |
3F07 headphone socket |
CON1、CON2、CON3 |
3 |
/ |
|
2 |
USB插座 |
USB socket |
P1 |
1 |
/ |
|
3 |
8050三极管 |
8050 transistor |
Q1 |
1 |
/ |
|
4 |
蓝白电位器1K |
Blue and white potentiometer 1K |
RP1 |
1 |
/ |
|
5 |
白发红发光二极管 |
White red light-emitting diode |
LED1、LED2 |
2 |
/ |
|
6 |
直插电阻51Ω |
Direct insertion resistor 51Ω |
R5 |
1 |
/ |
|
7 |
直插电阻1K |
Direct insertion resistor 1K |
R6、R7、R8、R9、R10、R11 |
6 |
/ |
|
8 |
直插电阻10K |
Direct insertion resistor 10K |
R1、R2、R3、R4、R13、R14 |
6 |
/ |
|
9 |
直插电阻200K |
Direct insertion resistor 200K |
R12 |
1 |
/ |
|
10 |
瓷片电容104 |
Ceramic capacitor 104 |
C3、C4、C5、C8、C10 |
5 |
/ |
|
11 |
电解电容220uF |
Electrolytic capacitor 220uF |
C1 |
1 |
/ |
|
12 |
8P IC座 |
8P IC socket |
U2 |
1 |
/ |
|
13 |
16P IC座 |
8P IC socket |
U1 |
1 |
/ |
|
14 |
LM358 |
LM358 |
U2 |
1 |
/ |
|
15 |
STC8G1K17 |
STC8G1K17 |
U1 |
1 |
/ |
|
16 |
1*16P单排母座 |
1 * 16P single row socket |
LCD1 |
1 |
/ |
|
17 |
6*6*5按键 |
6*6*5 key |
KEY1、KEY2、KEY3 |
3 |
/ |
|
18 |
LCD1602液晶显示屏 |
LCD1602 LCD display screen |
LCD1 |
1 |
/ |
|
19 |
1*16P单排排针 |
1 * 16P single row needle |
/ |
1 |
/ |
|
20 |
蜂鸣器 |
Buzzer |
LS1 |
1 |
/ |
|
21 |
音频线 |
Audio cable |
/ |
1 |
/ |
|
22 |
USB电源线 |
USB power cord |
/ |
1 |
/ |
|
23 |
解码器PCB |
Decoder PCB |
/ |
1 |
/ |
|
24 |
说明书 |
Instructions |
/ |
1 |
/ |
|
25 |
外壳 |
Housing |
/ |
1 |
/ |
|
26 |
螺丝包 |
Screw pack |
/ |
1 |
/ |
|
|
|
|
|
|
|
|
|
|
|
|
|
|
|
|
|
|
|
|
|
|
|
|
|
|
|
|
|
|
|
|
|
|
|
|
|
|
|
|
|
|


1、焊接51Ω、1K、10K、200K电阻。
Solder resistance of 51 Ω, 1K, 10K, and 200K.

2、焊接usb插座。
Solder USB socket.

3、焊接音频插座。
Solder audio socket.

4、焊接IC座8P和16P。(注意缺口方向)
Solder the IC socket 8P and 16P.(Pay attention to the direction of the IC socket)

5、焊接104瓷片电容。
Solder 104 ceramic capacitors.

6、焊接6*6*5按键。
Solder 6*6*5 key.

7、焊接白发红发光二极管。
Solder white emitting red light-emitting diodes.

8、焊接8050三极管和220uF电解电容。
Solder 8050 transistor and 220uF electrolytic capacitor.

9、焊接102电位器
Solder the 102 potentiometer.

10、焊接1*16P排母。
Solder1 * 16P socket.

11、焊接蜂鸣器。
Solder buzzer.

12、将STC8G1K17和LM358芯片插到IC座上。(注意芯片方向)
Insert the STC8G1K17 and LM358 chips into the IC socket.(Pay attention to chip direction)

13、将1*16P排针焊到LCD屏上。
Solder 1 * 16P pins onto the LCD screen.

14、将LCD屏插到1*16P排母上。
Insert the LCD screen into a 1 * 16P socket.

15、用M3螺丝和铜柱将外壳组装。
Assemble the housing with M3 screws and copper pillars.

16、用M3*25螺丝和螺母将中间的两片亚克力进行固定并将弹簧装在螺母上。
Fix the two pieces of acrylic with M3 * 25 screws and nuts, and install the spring on the nut.

17、将亚克力支架放进凹槽中,装上顶部的亚克力,并用M3*12螺丝和盖母固定。
Place the acrylic bracket into the groove, install the top acrylic shell, and fix it with M3 * 12 screws and cover nuts.

18、将音频接口的U型红黑连接线分别装在M3*12螺丝上,并拧紧盖母。
Install the U-shaped red and black connecting wires of the audio interface onto M3 * 12 screws and tighten the cover nuts.

19、装上底部的两块亚克力并用M3*16螺丝和盖母进行固定。
Install the two pieces of acrylic at the bottom and secure them with M3 * 16 screws and cover nuts.

20、将按键翘板尾部装上M3*6螺丝和盖母,将翘板插入支架上并用螺母和盖母固定。
Install M3 * 6 screws and cover nuts onto the tail of the button rocker panel, insert the rocker panel into the bracket, and secure it with nuts and cover nuts.

Ⅶ、使用说明 Instructions for use
1、接口说明 Interface Description

2、用户界面显示说明 User interface display instructions


字母 Letter
|
字符 Character |
电码符号 Morse code symbol |
字符 Character |
电码符号 Morse code symbol |
字符 Character |
电码符号 Morse code symbol |
字符 Character |
电码符号 Morse code symbol |
|
A |
.━ |
B |
━... |
C |
━.━. |
D |
━.. |
|
E |
. |
F |
..━. |
G |
━━. |
H |
.... |
|
I |
.. |
J |
.━━━ |
K |
━.━ |
L |
.━.. |
|
M |
━━ |
N |
━. |
O |
━━━ |
P |
.━━. |
|
Q |
━━.━ |
R |
.━. |
S |
... |
T |
━ |
|
U |
..━ |
V |
...━ |
W |
.━━ |
X |
━..━ |
|
Y |
━.━━ |
Z |
━━.. |
数字 Number
|
字符 Character |
电码符号 Morse code symbol |
字符 Character |
电码符号 Morse code symbol |
字符 Character |
电码符号 Morse code symbol |
字符 Character |
电码符号 Morse code symbol |
|
0 |
━━━━━ |
1 |
.━━━━ |
2 |
..━━━ |
3 |
...━━ |
|
4 |
....━ |
5 |
..... |
6 |
━.... |
7 |
━━... |
|
8 |
━━━.. |
9 |
━━━━. |
标点符号 Punctuation marks
|
字符 Character |
电码符号 Morse code symbol |
字符 Character |
电码符号 Morse code symbol |
字符 Character |
电码符号 Morse code symbol |
字符 Character |
电码符号 Morse code symbol |
|
? |
..━━.. |
, |
━━..━━ |
. |
.━.━.━ |
! |
━.━.━━ |
|
@ |
.━━.━. |
: |
━━━... |
━ |
━....━ |
(10)摩尔斯码练习例子 Morse code practice examples
|
HXFB 核芯风暴 |
|||
|
H |
X |
F |
B |
|
.... |
━. . ━ |
..━. |
━... |
|
I 我 |
|||
|
I |
|||
|
.. |
|||
|
LOVE 爱 |
|||
|
L |
O |
V |
E |
|
.━. . |
━ ━ ━ |
. . .━ |
. |
|
LIKE 喜欢 |
|||
|
L |
I |
K |
E |
|
.━. . |
.. |
━.━ |
. |
|
YOU 你 |
|||
|
Y |
O |
U |
|
|
━.━━ |
━ ━ ━ |
. .━ |
|
|
GOOD 好 |
|||
|
G |
O |
O |
D |
|
━━. |
━ ━ ━ |
━ ━ ━ |
━. . |
|
OK 好的 |
|||
|
O |
K |
||
|
━ ━ ━ |
━.━ |
||
|
EAT 吃饭 |
|||
|
E |
A |
T |
|
|
. |
.━ |
━ |
|


